Zapier
Our Zapier integration allows you to connect Sonar to over 600 apps that you use every day to automate tasks and save them. Set up Sonar as a trigger to perform an action within an app OR set up a trigger within an app to perform an action in Sonar. This is easy to set up and you don't need to be a developer to make a Zap. Here's more info on how Zapier works.

With this integration, you'll be able to set triggers based on what happens in Sonar (i.e. when you receive a message), and then Zapier perform actions (i.e. add a new customer in your CRM) in another app. Also, you can set triggers based on what happens in an app (i.e. adding a new customer in your CRM), and then Zapier will perform an action in Sonar (i.e. send a SMS message to a customer).
You might use the Zapier integration to:
- Create a help desk ticket in Zendesk whenever an incoming message is received in Sonar.
- Export Sonar messages into a Google spreadsheet.
- Automatically send a welcome SMS message when adding a customer in Intercom.
- Assign an existing customer to a team member when adding a customer in your CRM.
Setting Up Zapier
To get started with the Zapier integration, you'll need to first sign up for Zapier, if you haven't already done so. Then, follow the steps below.
- Log into Zapier account.
- Go to our Zapier page.
- After you accept the invite, on your dashboard, click on the Make a Zap.
Set up Sonar as a Trigger
- Search for "Sonar SMS" in the search box.
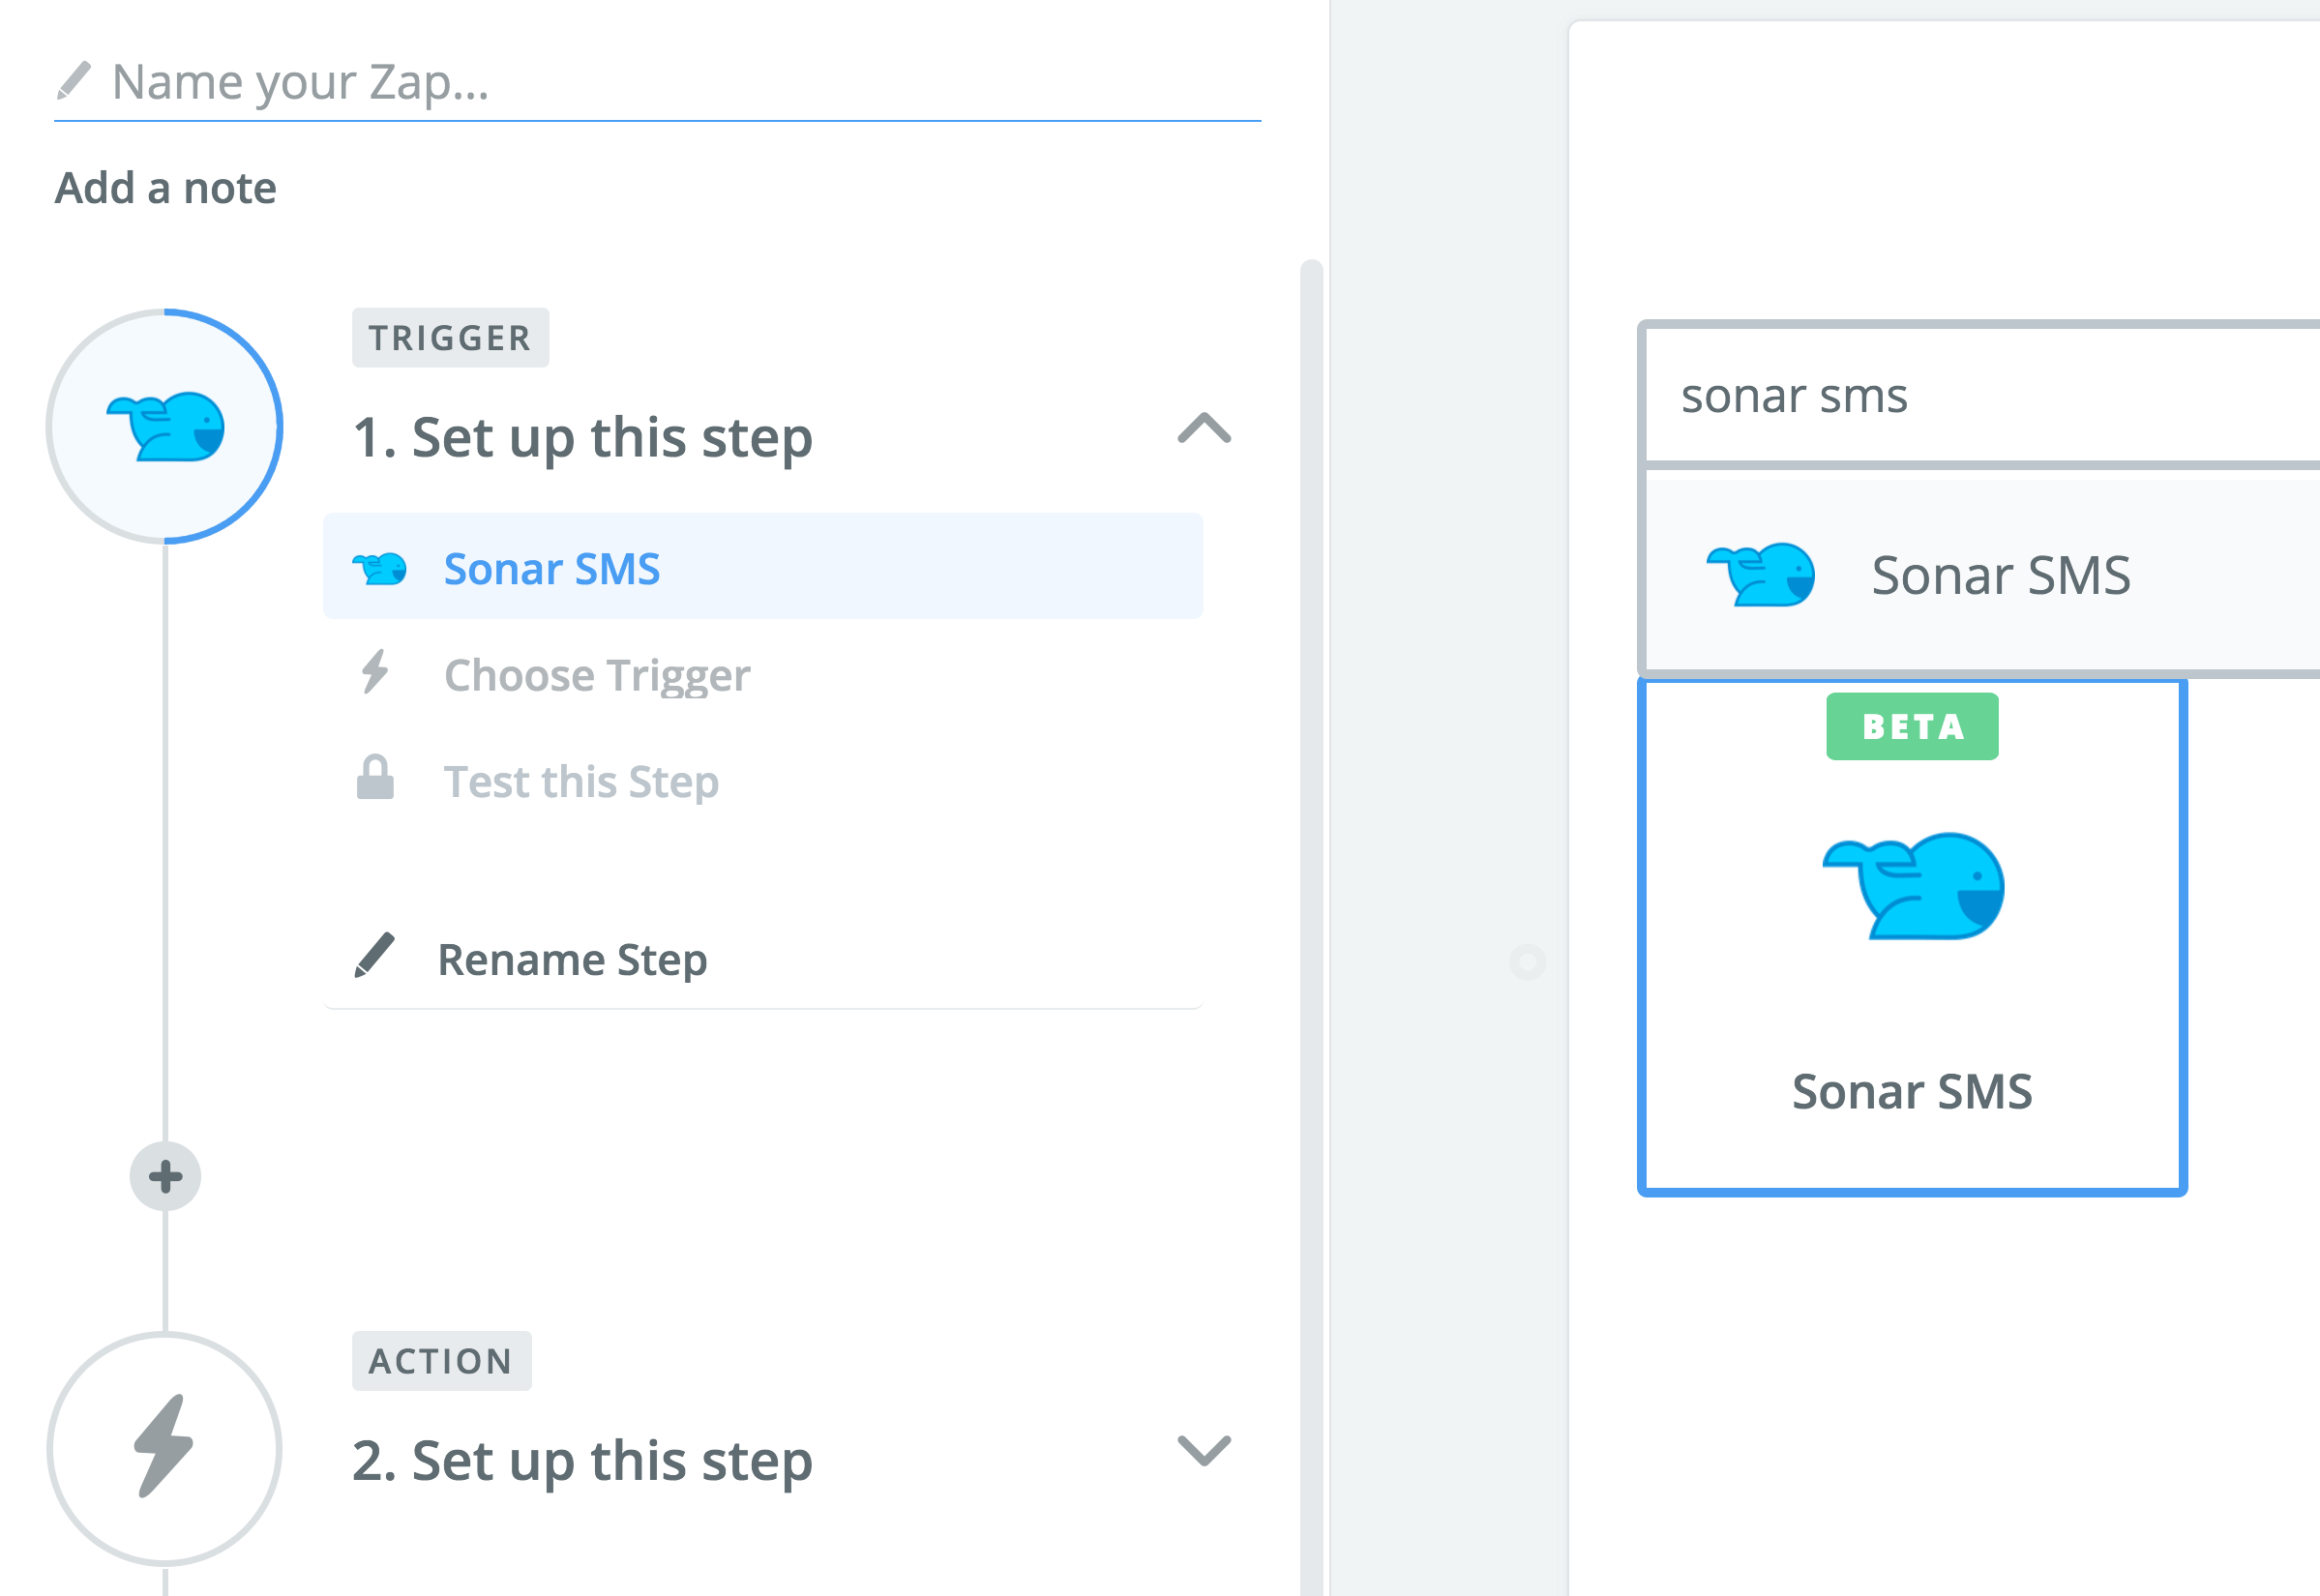
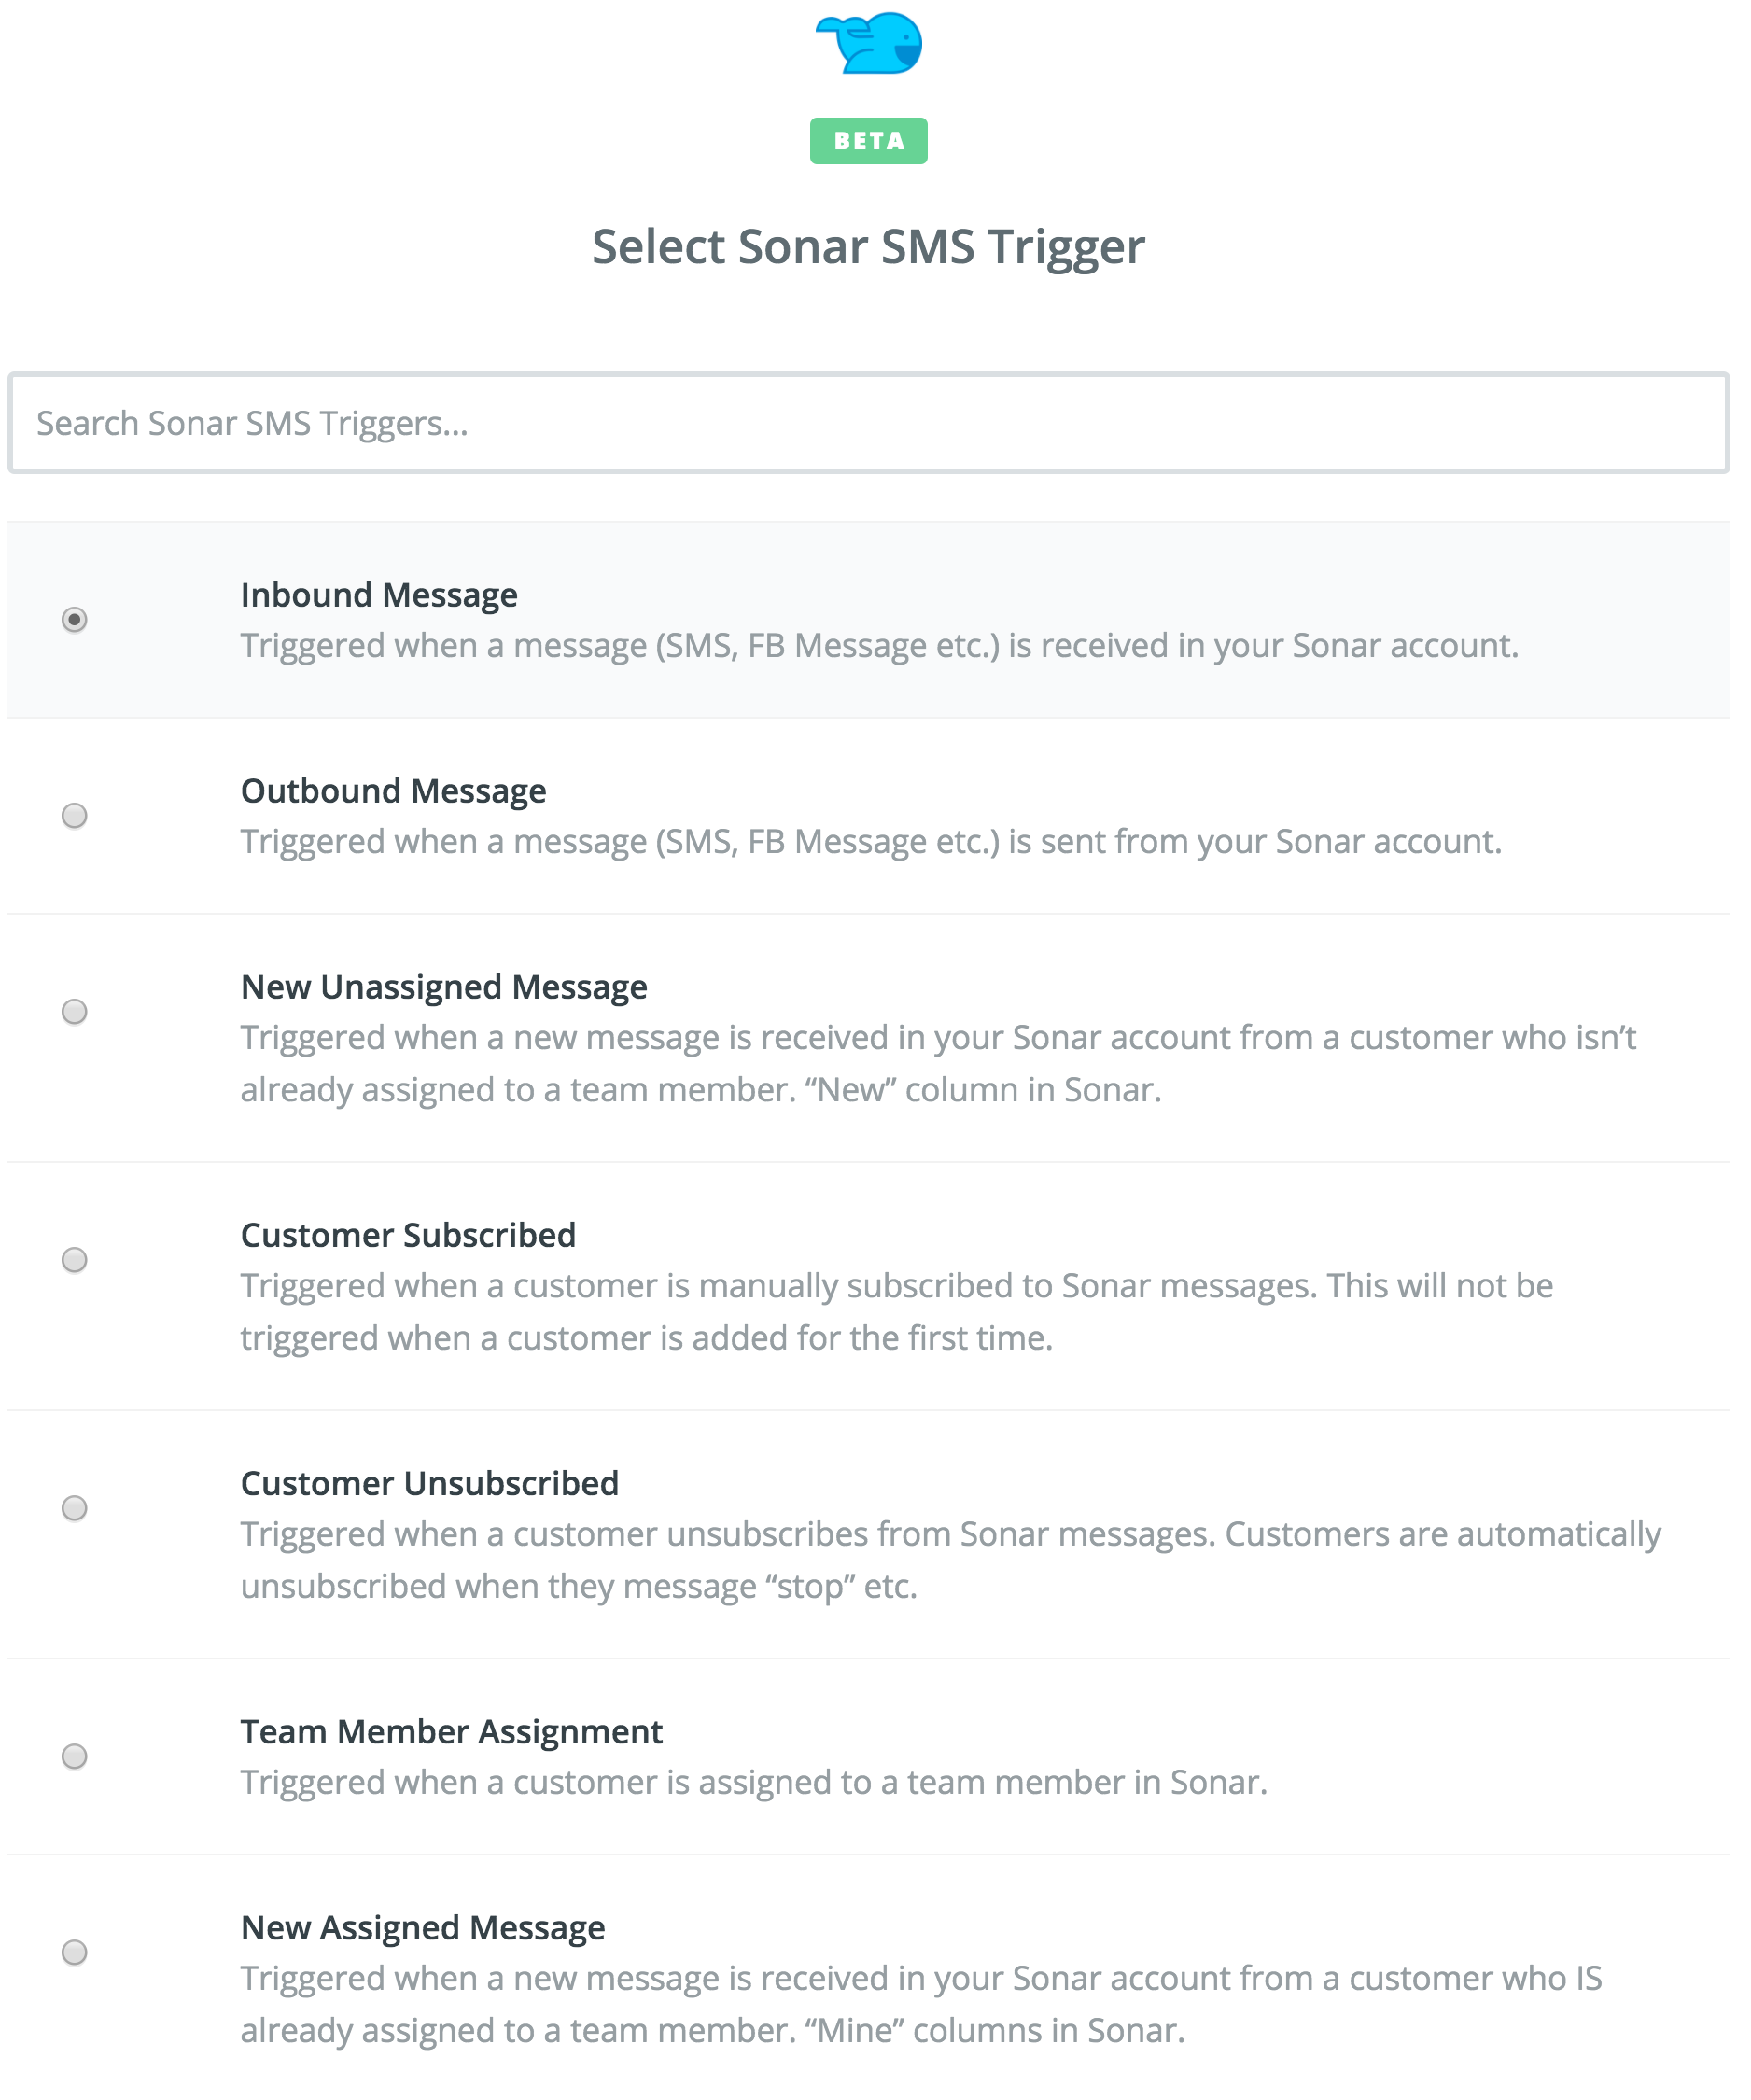
- Select an event in Sonar to trigger.
- Inbound Message - when a message (SMS, FB Message etc.) is received in your Sonar account.
- Outbound Message - when a message (SMS, FB Message etc.) is sent from your Sonar account.
- New Unassigned Message - when a new message is received in your Sonar account from a customer who isn’t already assigned to a team member. “New” column in Sonar.
- Customer Subscribed - when a customer is manually subscribed to Sonar messages. This will not be triggered when a customer is added for the first time.
- Customer Unsubscribed - when a customer unsubscribes from Sonar messages. Customers are automatically unsubscribed when they message “stop” etc.
- Team Member Assignment - when a customer is assigned to a team member in Sonar.
- New Assigned Message - when a new message is received in your Sonar account from a customer who IS already assigned to a team member. “Mine” columns in Sonar.
- Click on "Save & Continue".
- Click on "Connect a New Account".
- In the pop-up window, enter the Private Token in your Sonar account. This is located in Menu > Settings > Company Settings
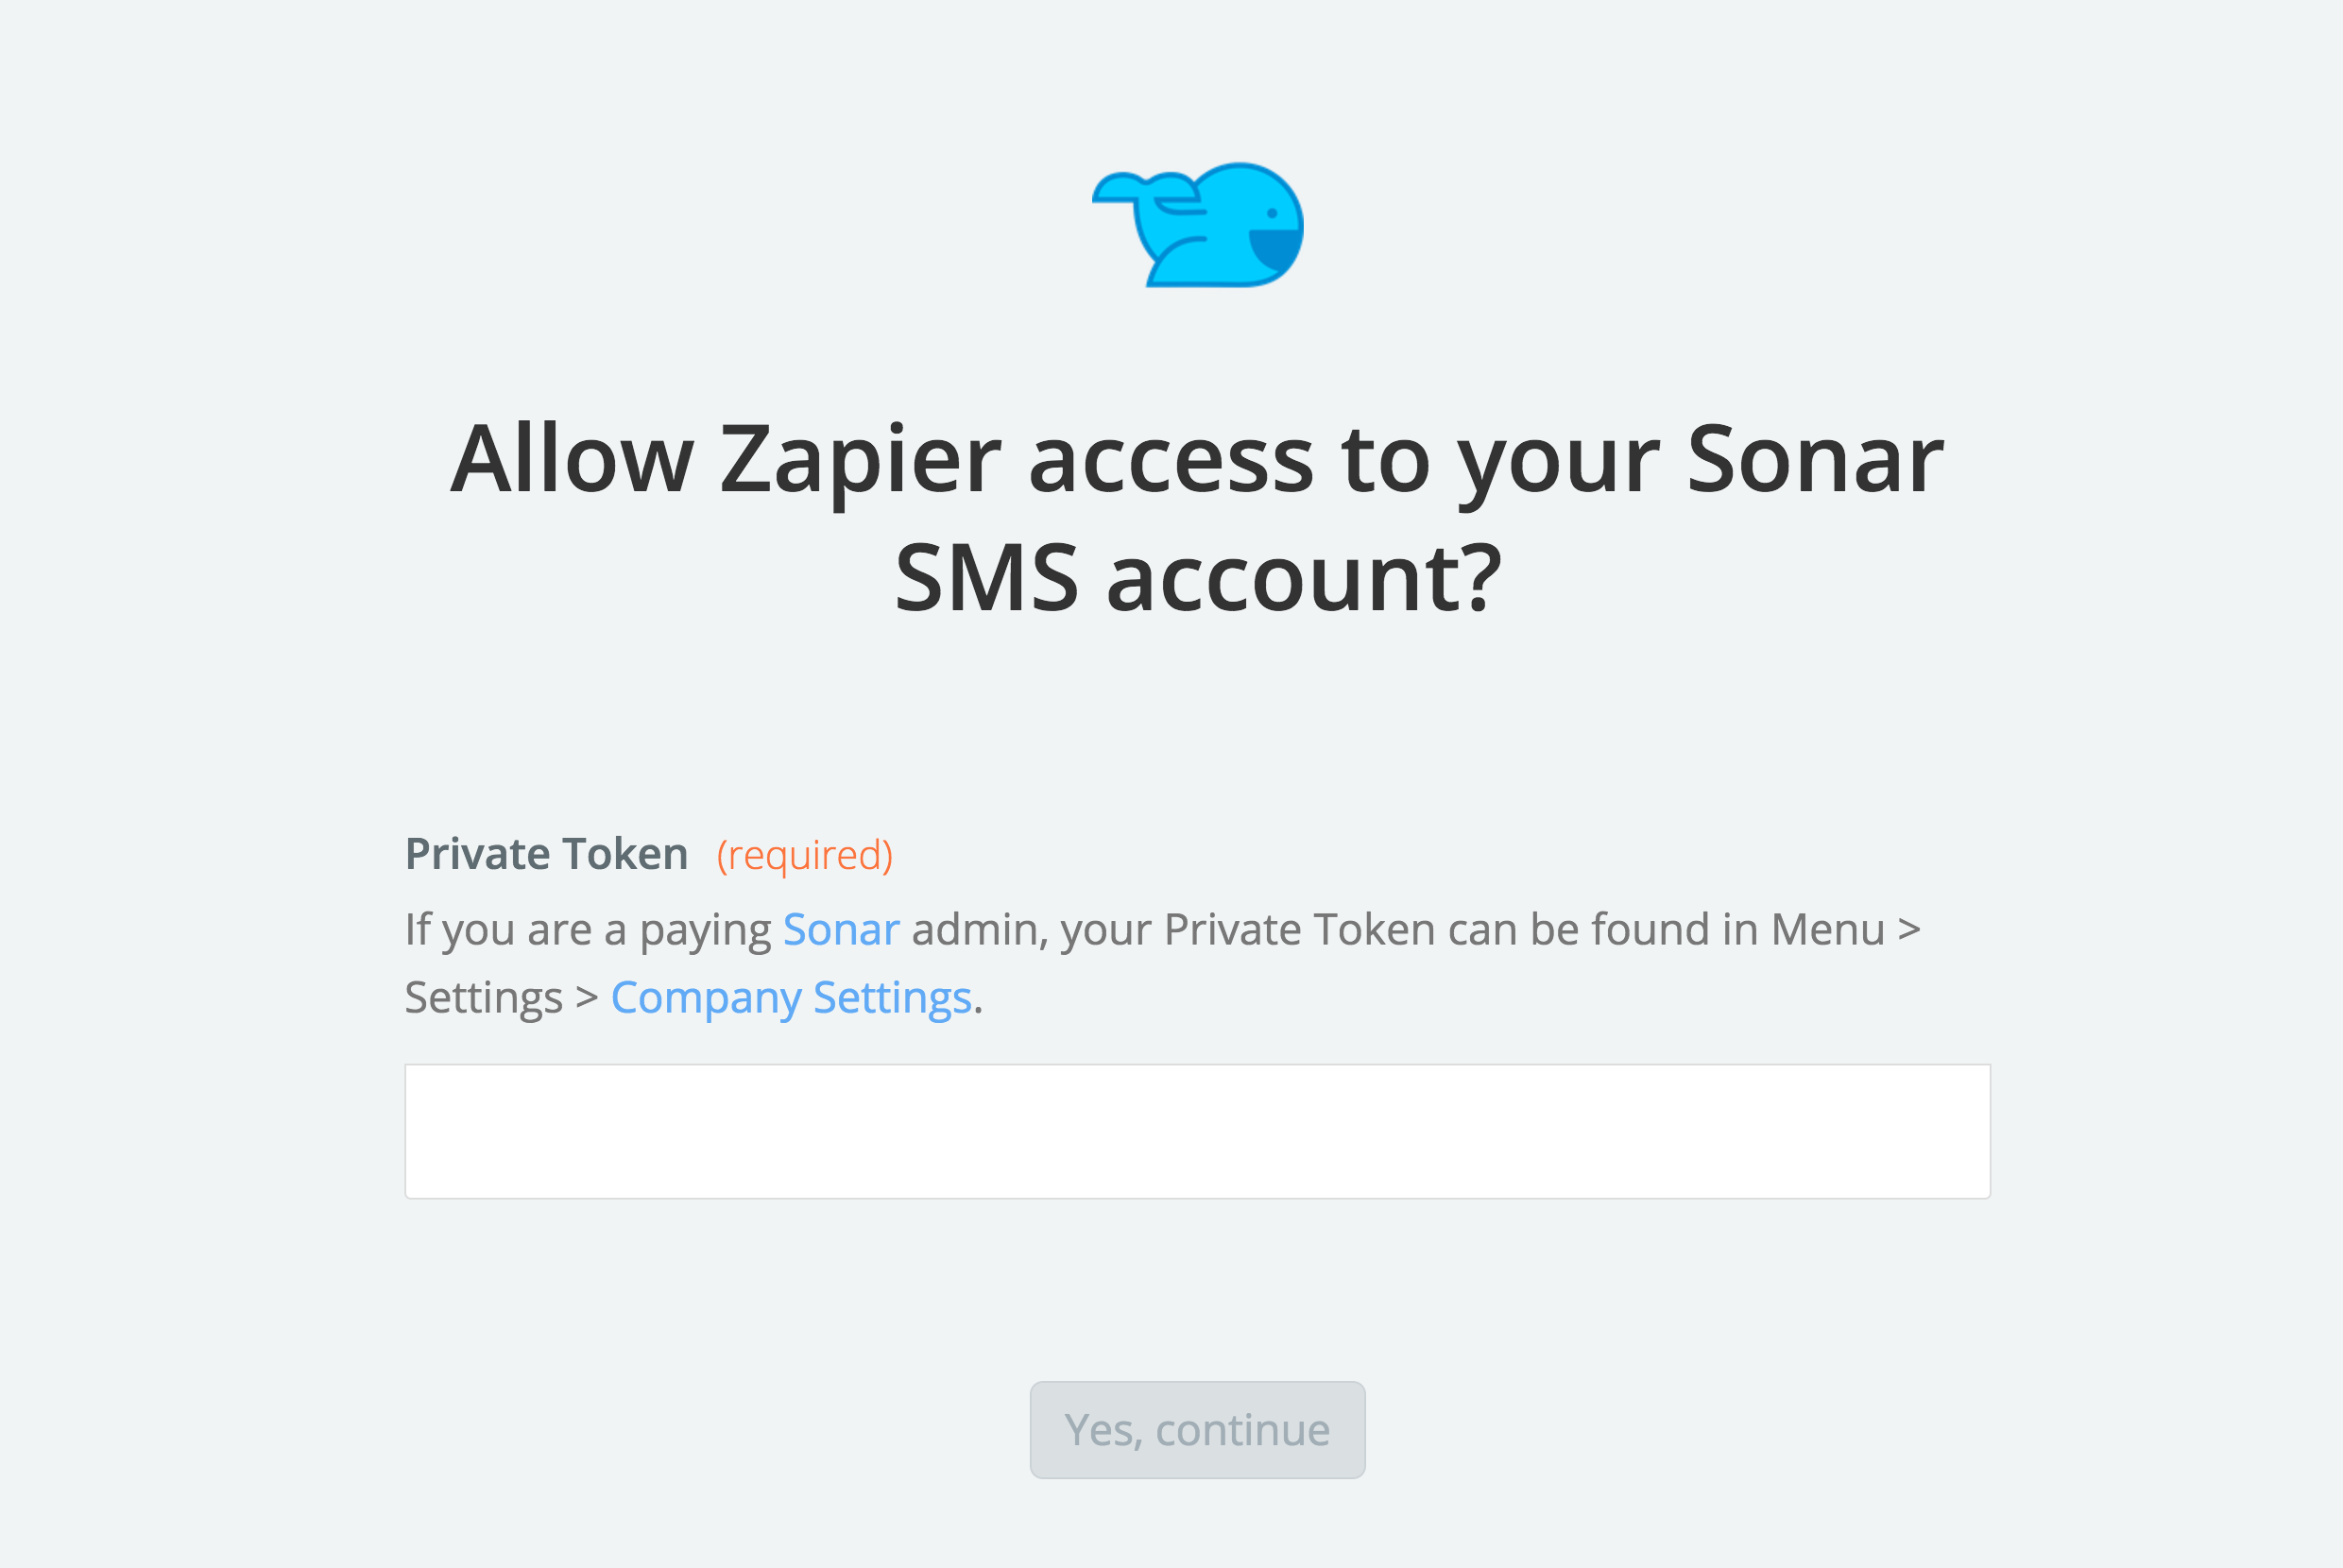
- Click on "Test" to ensure that your Sonar account is connected to Zapier.
- Click on "Connect & Continue" on the next screen. This will perform a test on the Sonar SMS trigger you've selected. If you've selected "Inbound Message" as your trigger, you can send a text message to your Sonar number to run the test.
- Click on "Continue".
- Next, you'll move on to setting up your action in another app of your choice. When ready, turn the Zap on! You can turn it off at any time.
Set up Sonar as an Action
- After setting up the trigger for your app, search for "Sonar SMS" in the search box for the Action.
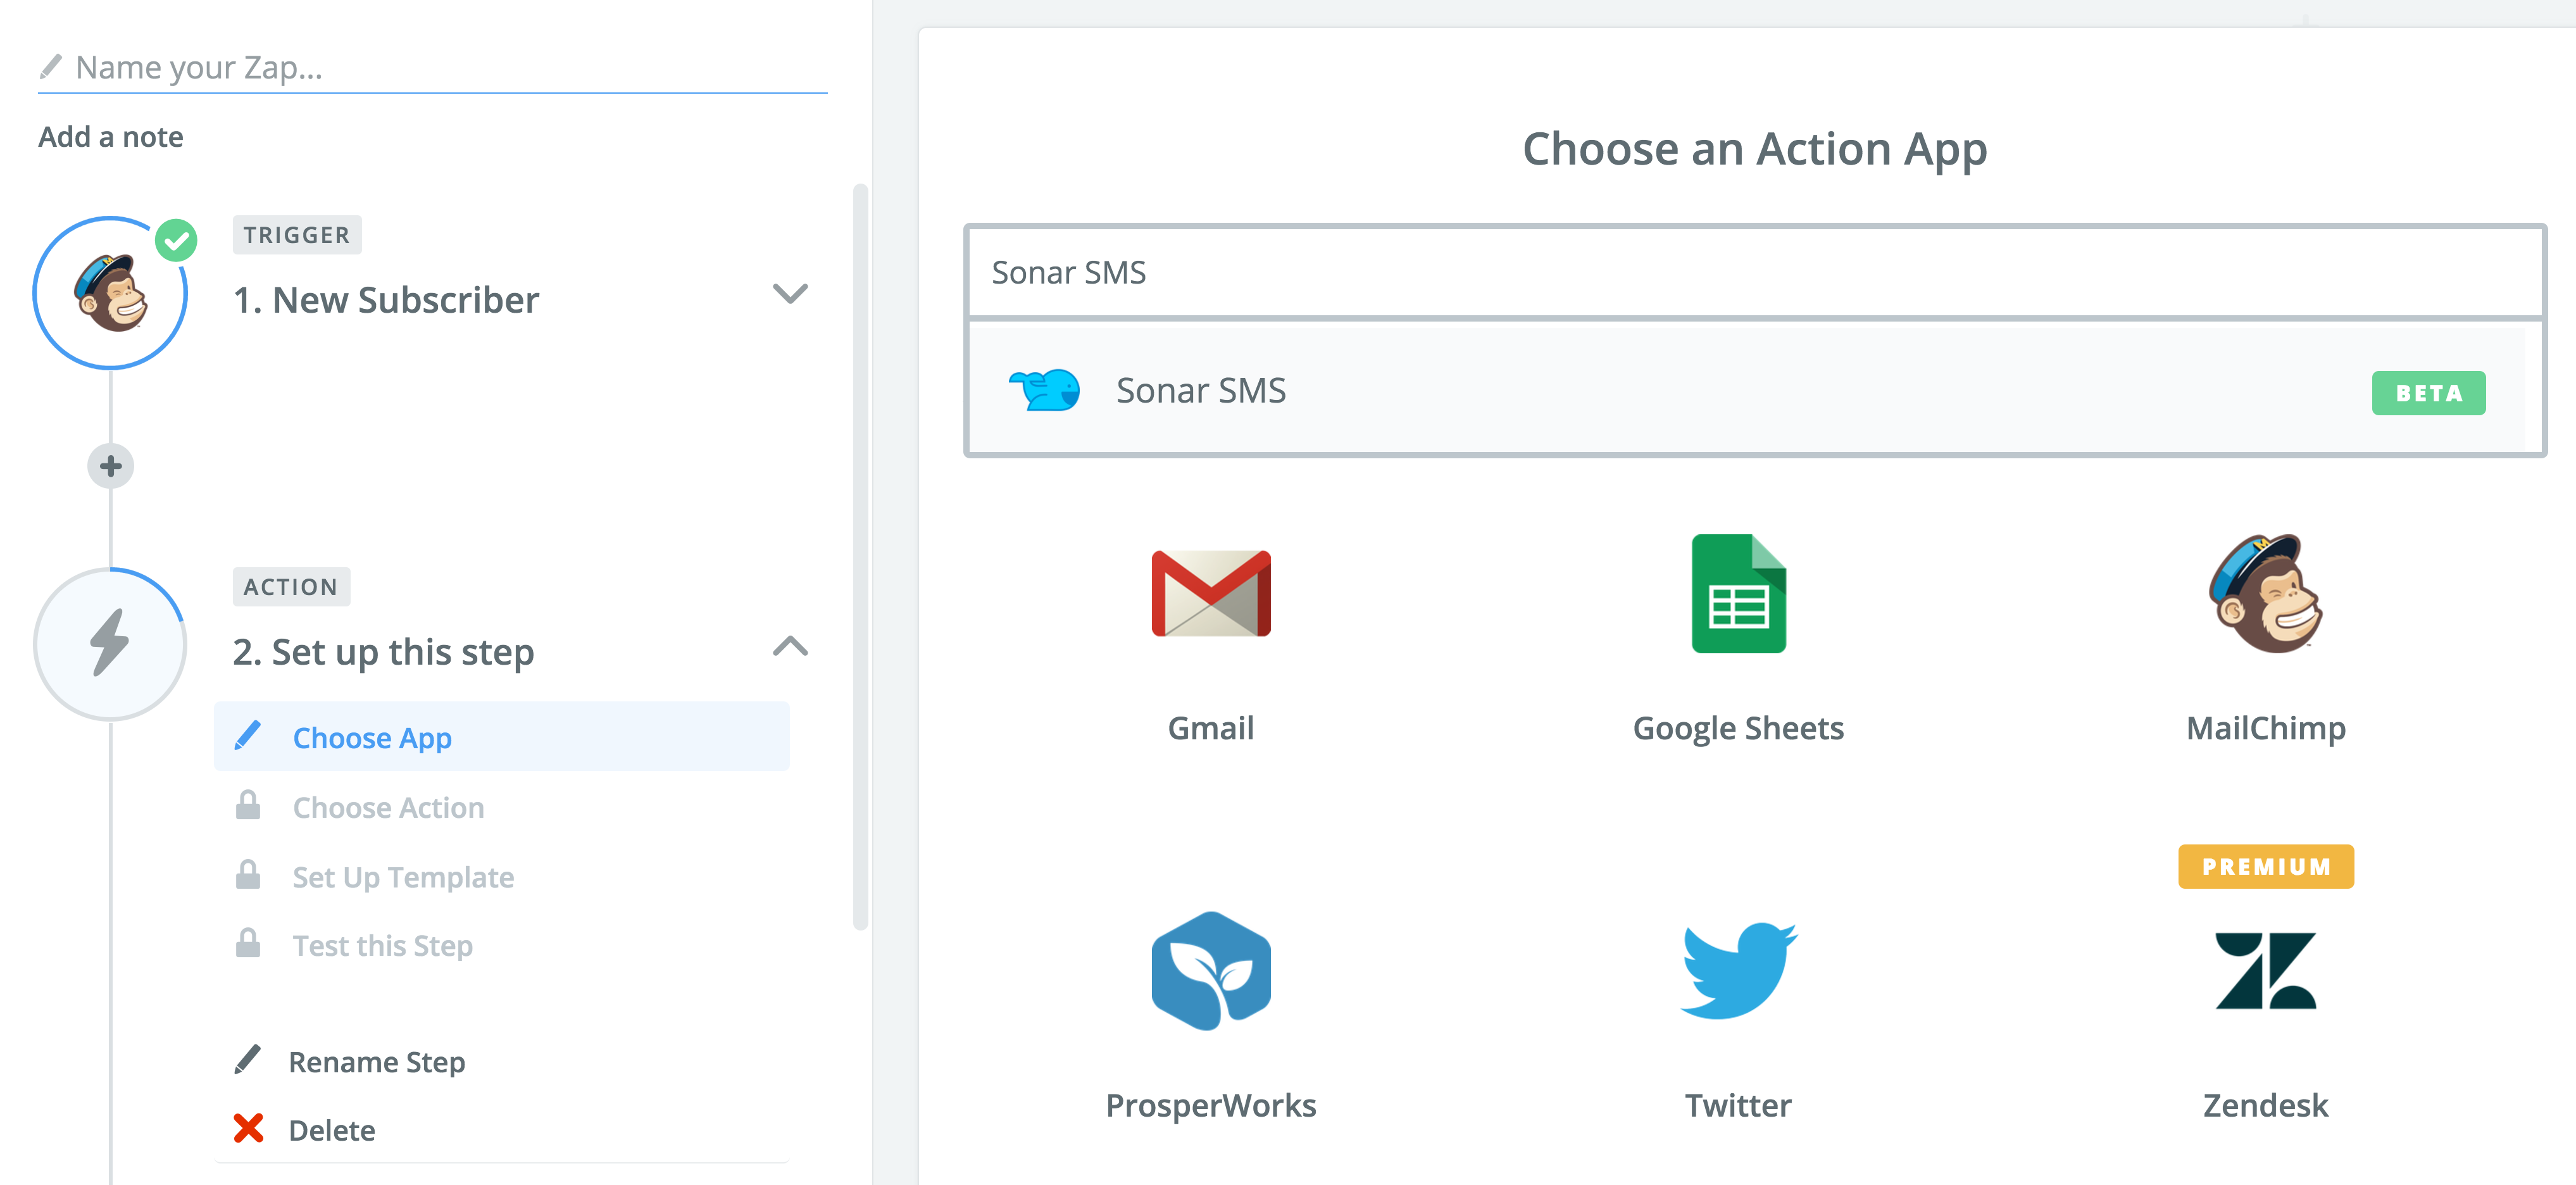
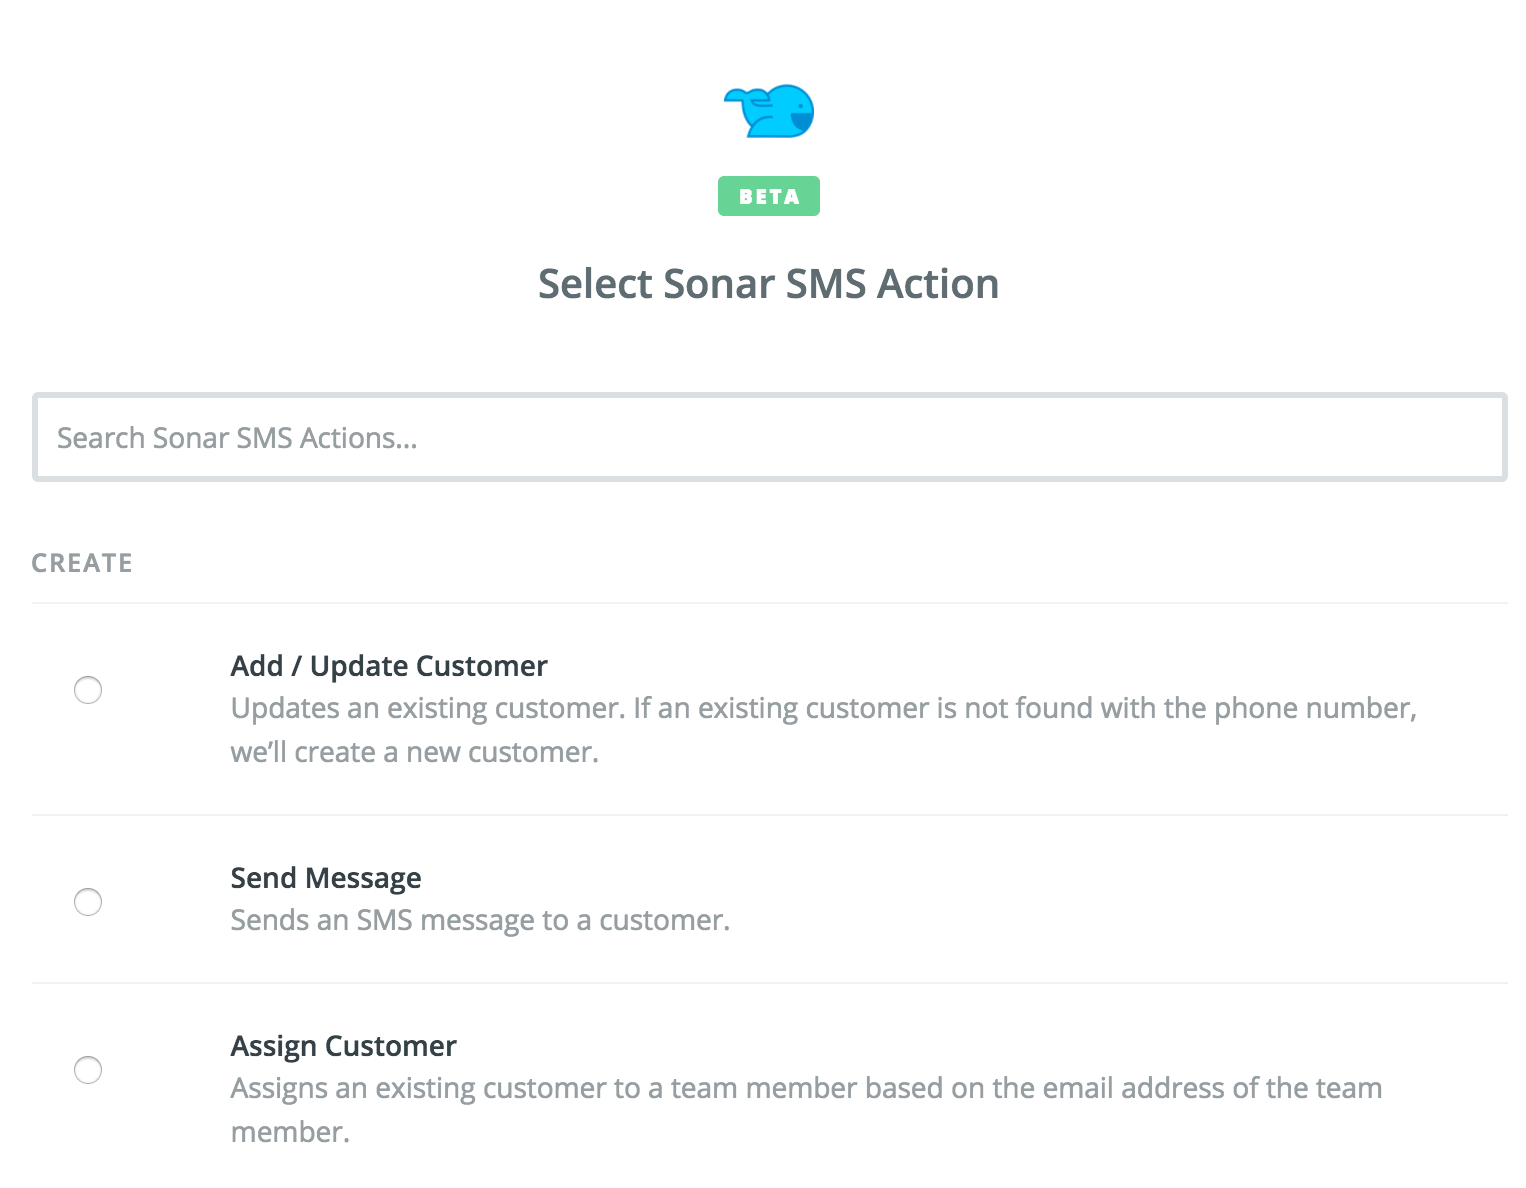
- Select an action for Zapier to perform in Sonar when the trigger you've set up above occurs.
- Add/Update Customer - Updates an existing customer. If an existing customer is not found with the phone number, we’ll create a new customer.
- Send Message - Sends an SMS message to a customer.
- Assign Customer - Assigns an existing customer to a team member based on the email address of the team member.
- Click on "Save + Continue".
- Click on "Connect a New Account".
- In the pop-up window, enter the Private Token in your Sonar account. This is located in Menu > Settings > Company Settings
- Click on "Test" to ensure that your Sonar account is connected to Zapier.
- Click on "Continue".
Setting up Action Template
This step is to ensure that Zapier performs the action in the way you intend. In this step, you'll see various fields from the below actions that you can fill in. Some fields are required and others are optional. Use the drop-down or "+" on the right to populate and select the fields. You'll see the fields available with options from your trigger, as well as any previous actions. Next to the name of the field is a sample value that helps to clarify what info you can expect to be in that field. For more details, check out Zapier's info on Action Templates.
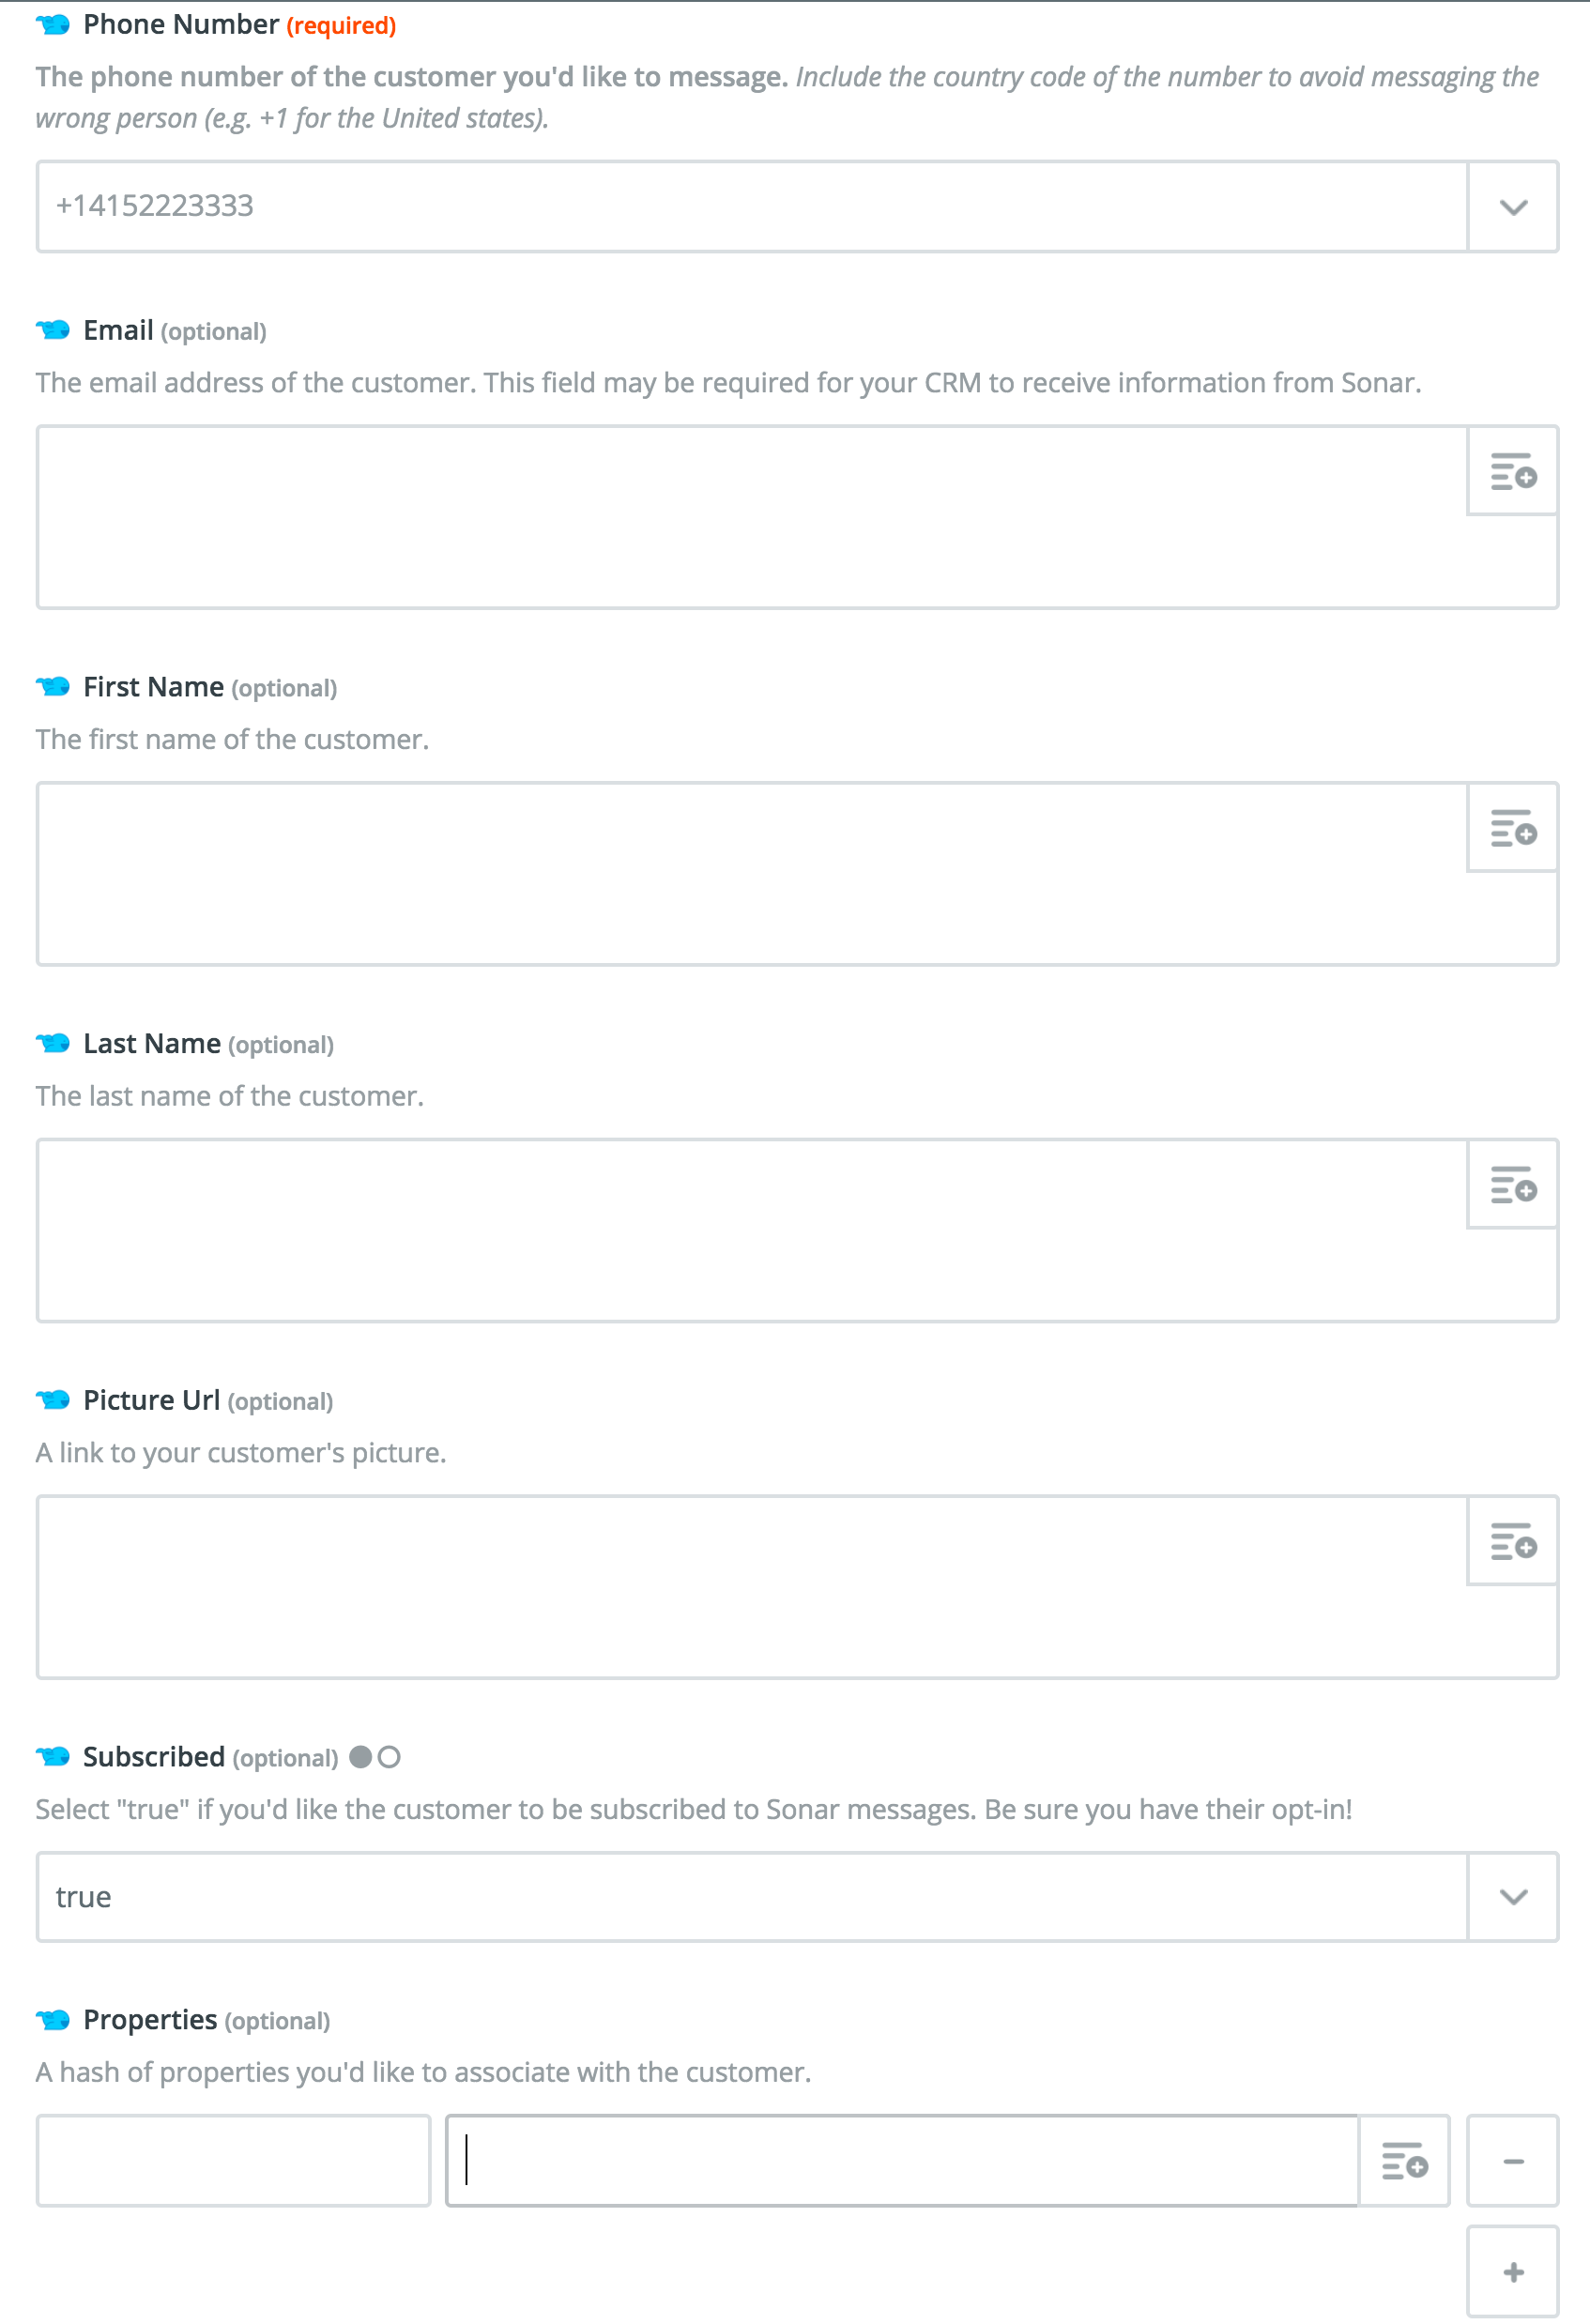
- If you chose the Action, "Add/Update Customer", you can select the below fields:
- Phone Number (required)
- Email (optional)
- First Name (optional)
- Last Name (optional)
- Picture URL (optional)
- Subscribed (optional) - Select "true" if you'd like the customer to be subscribed to Sonar messages. Be sure you have their opt-in!
- Properties (optional) - can include fields from app in the Trigger.
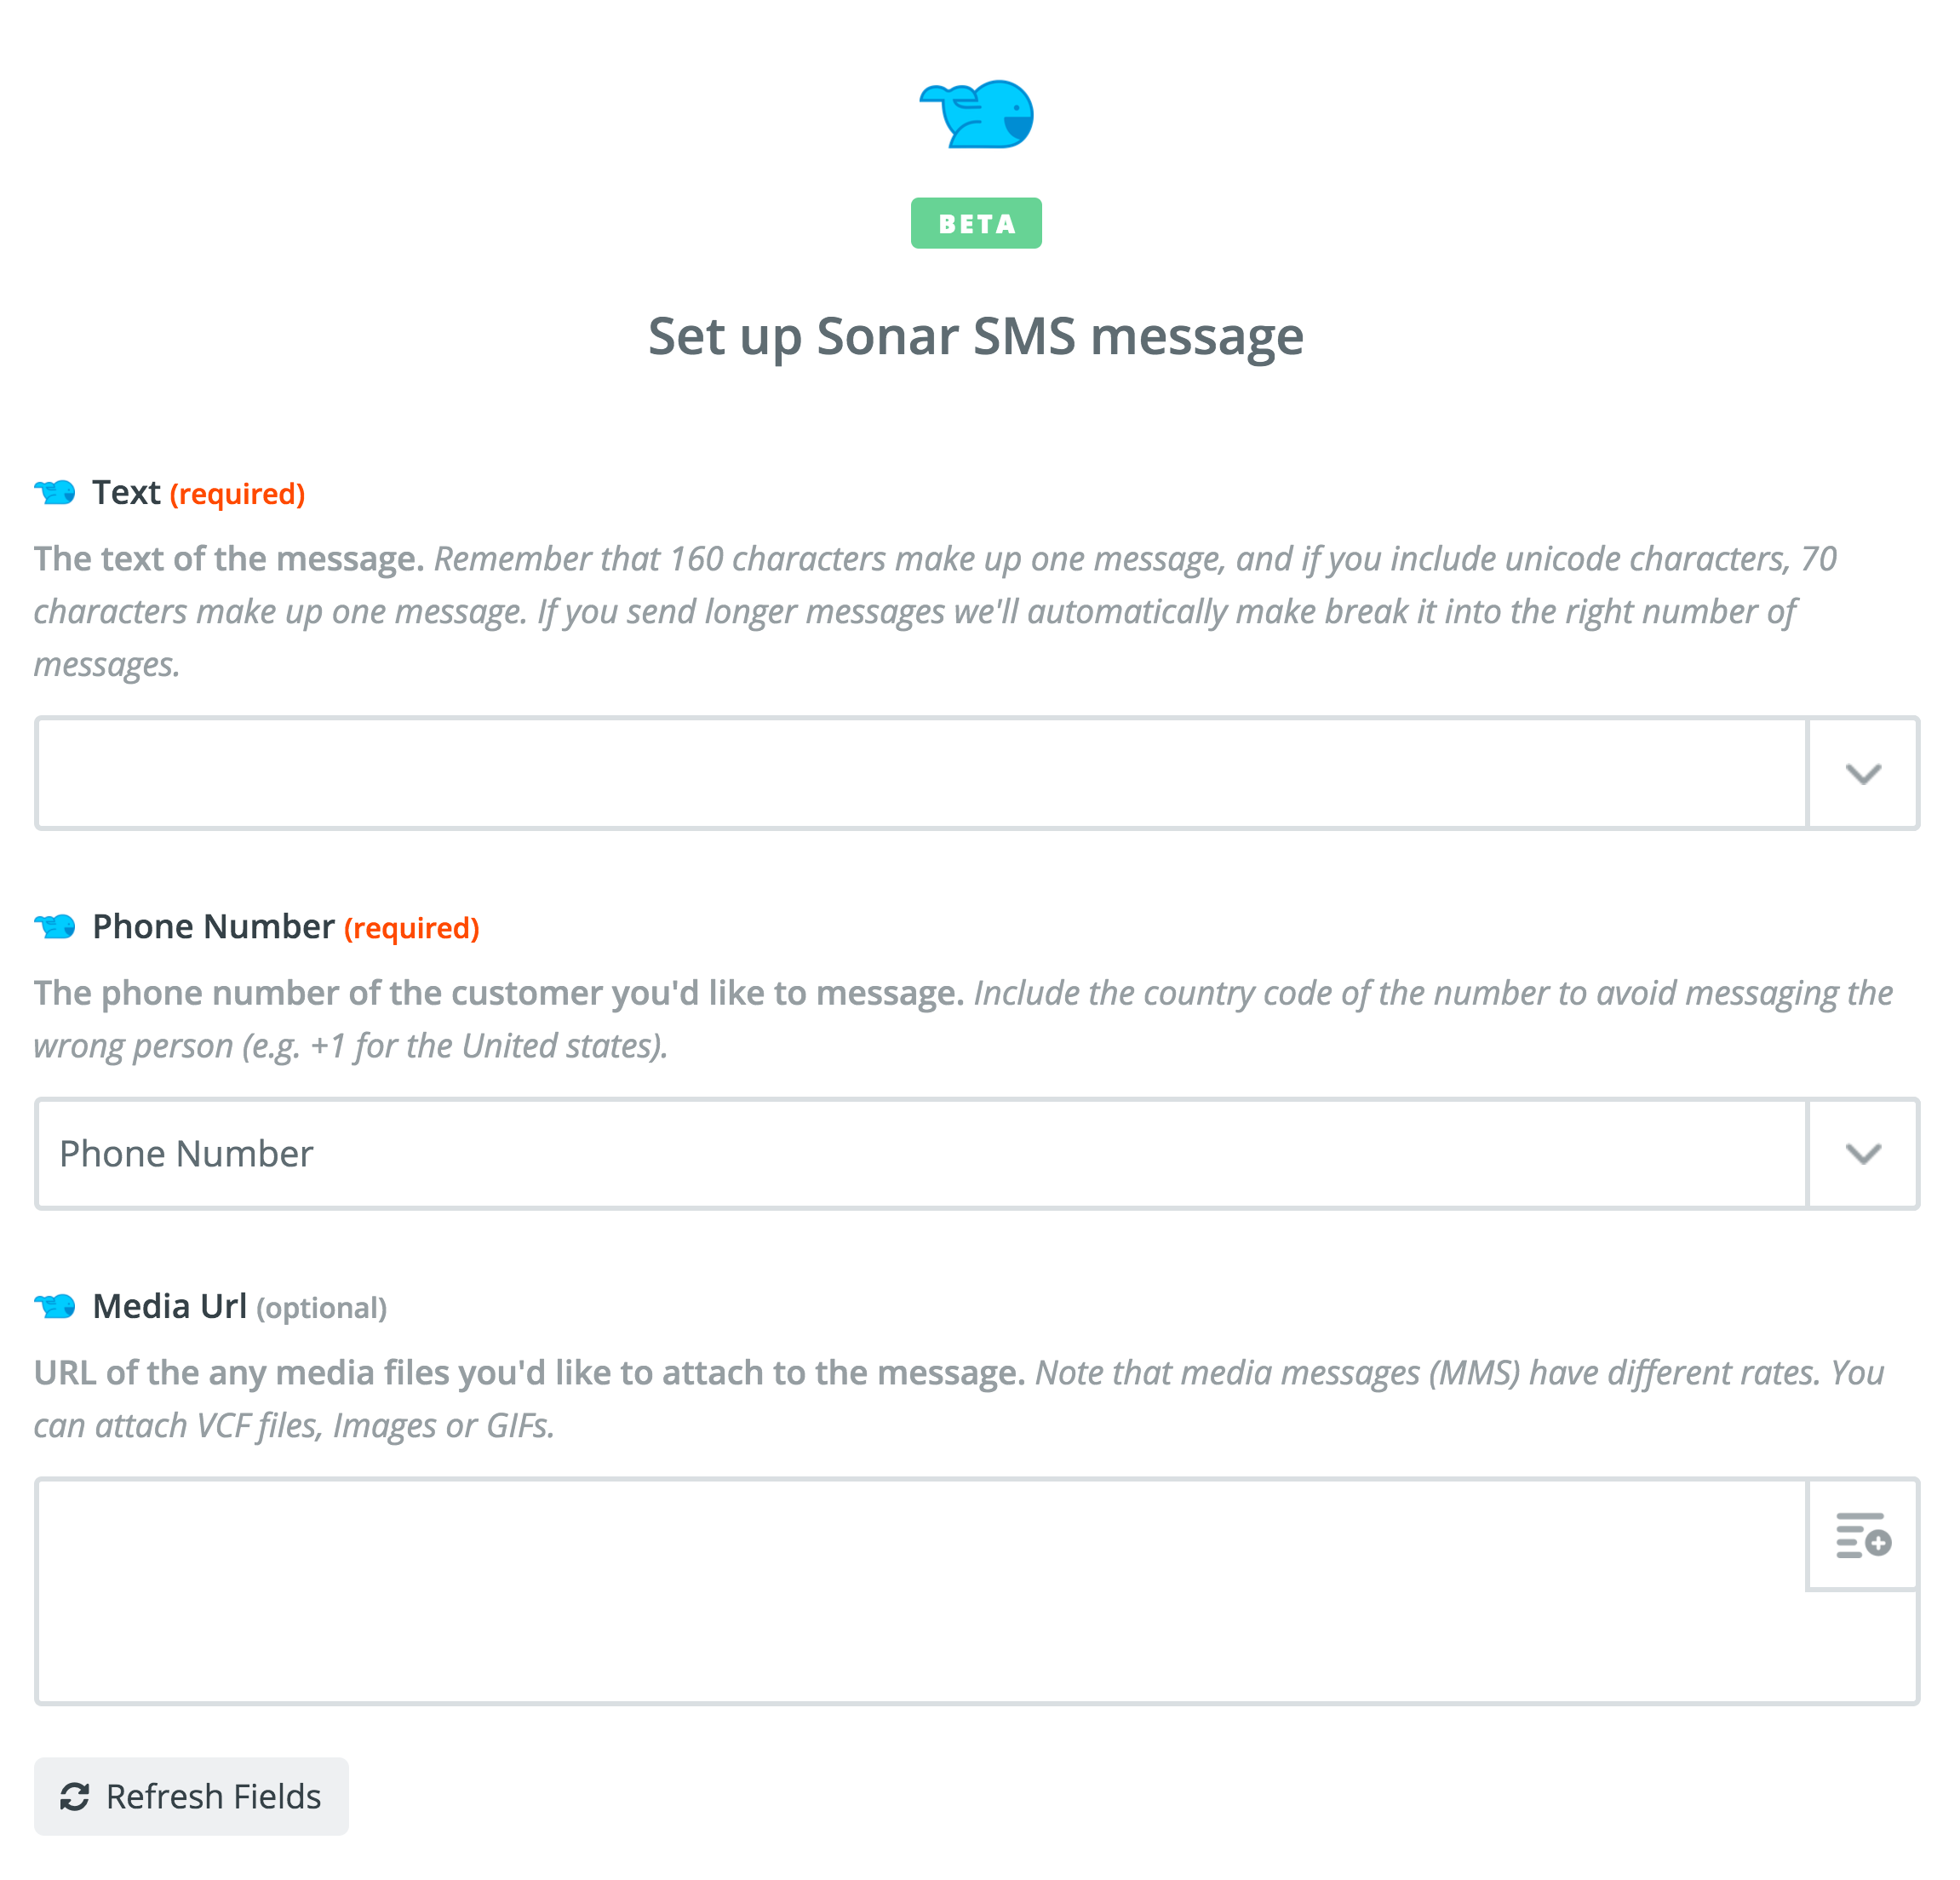
- If you chose the Action, "Send Message", set up the template with the following:
- Text of the message (required)
- Customer's phone number (required)
- Media URL (optional)
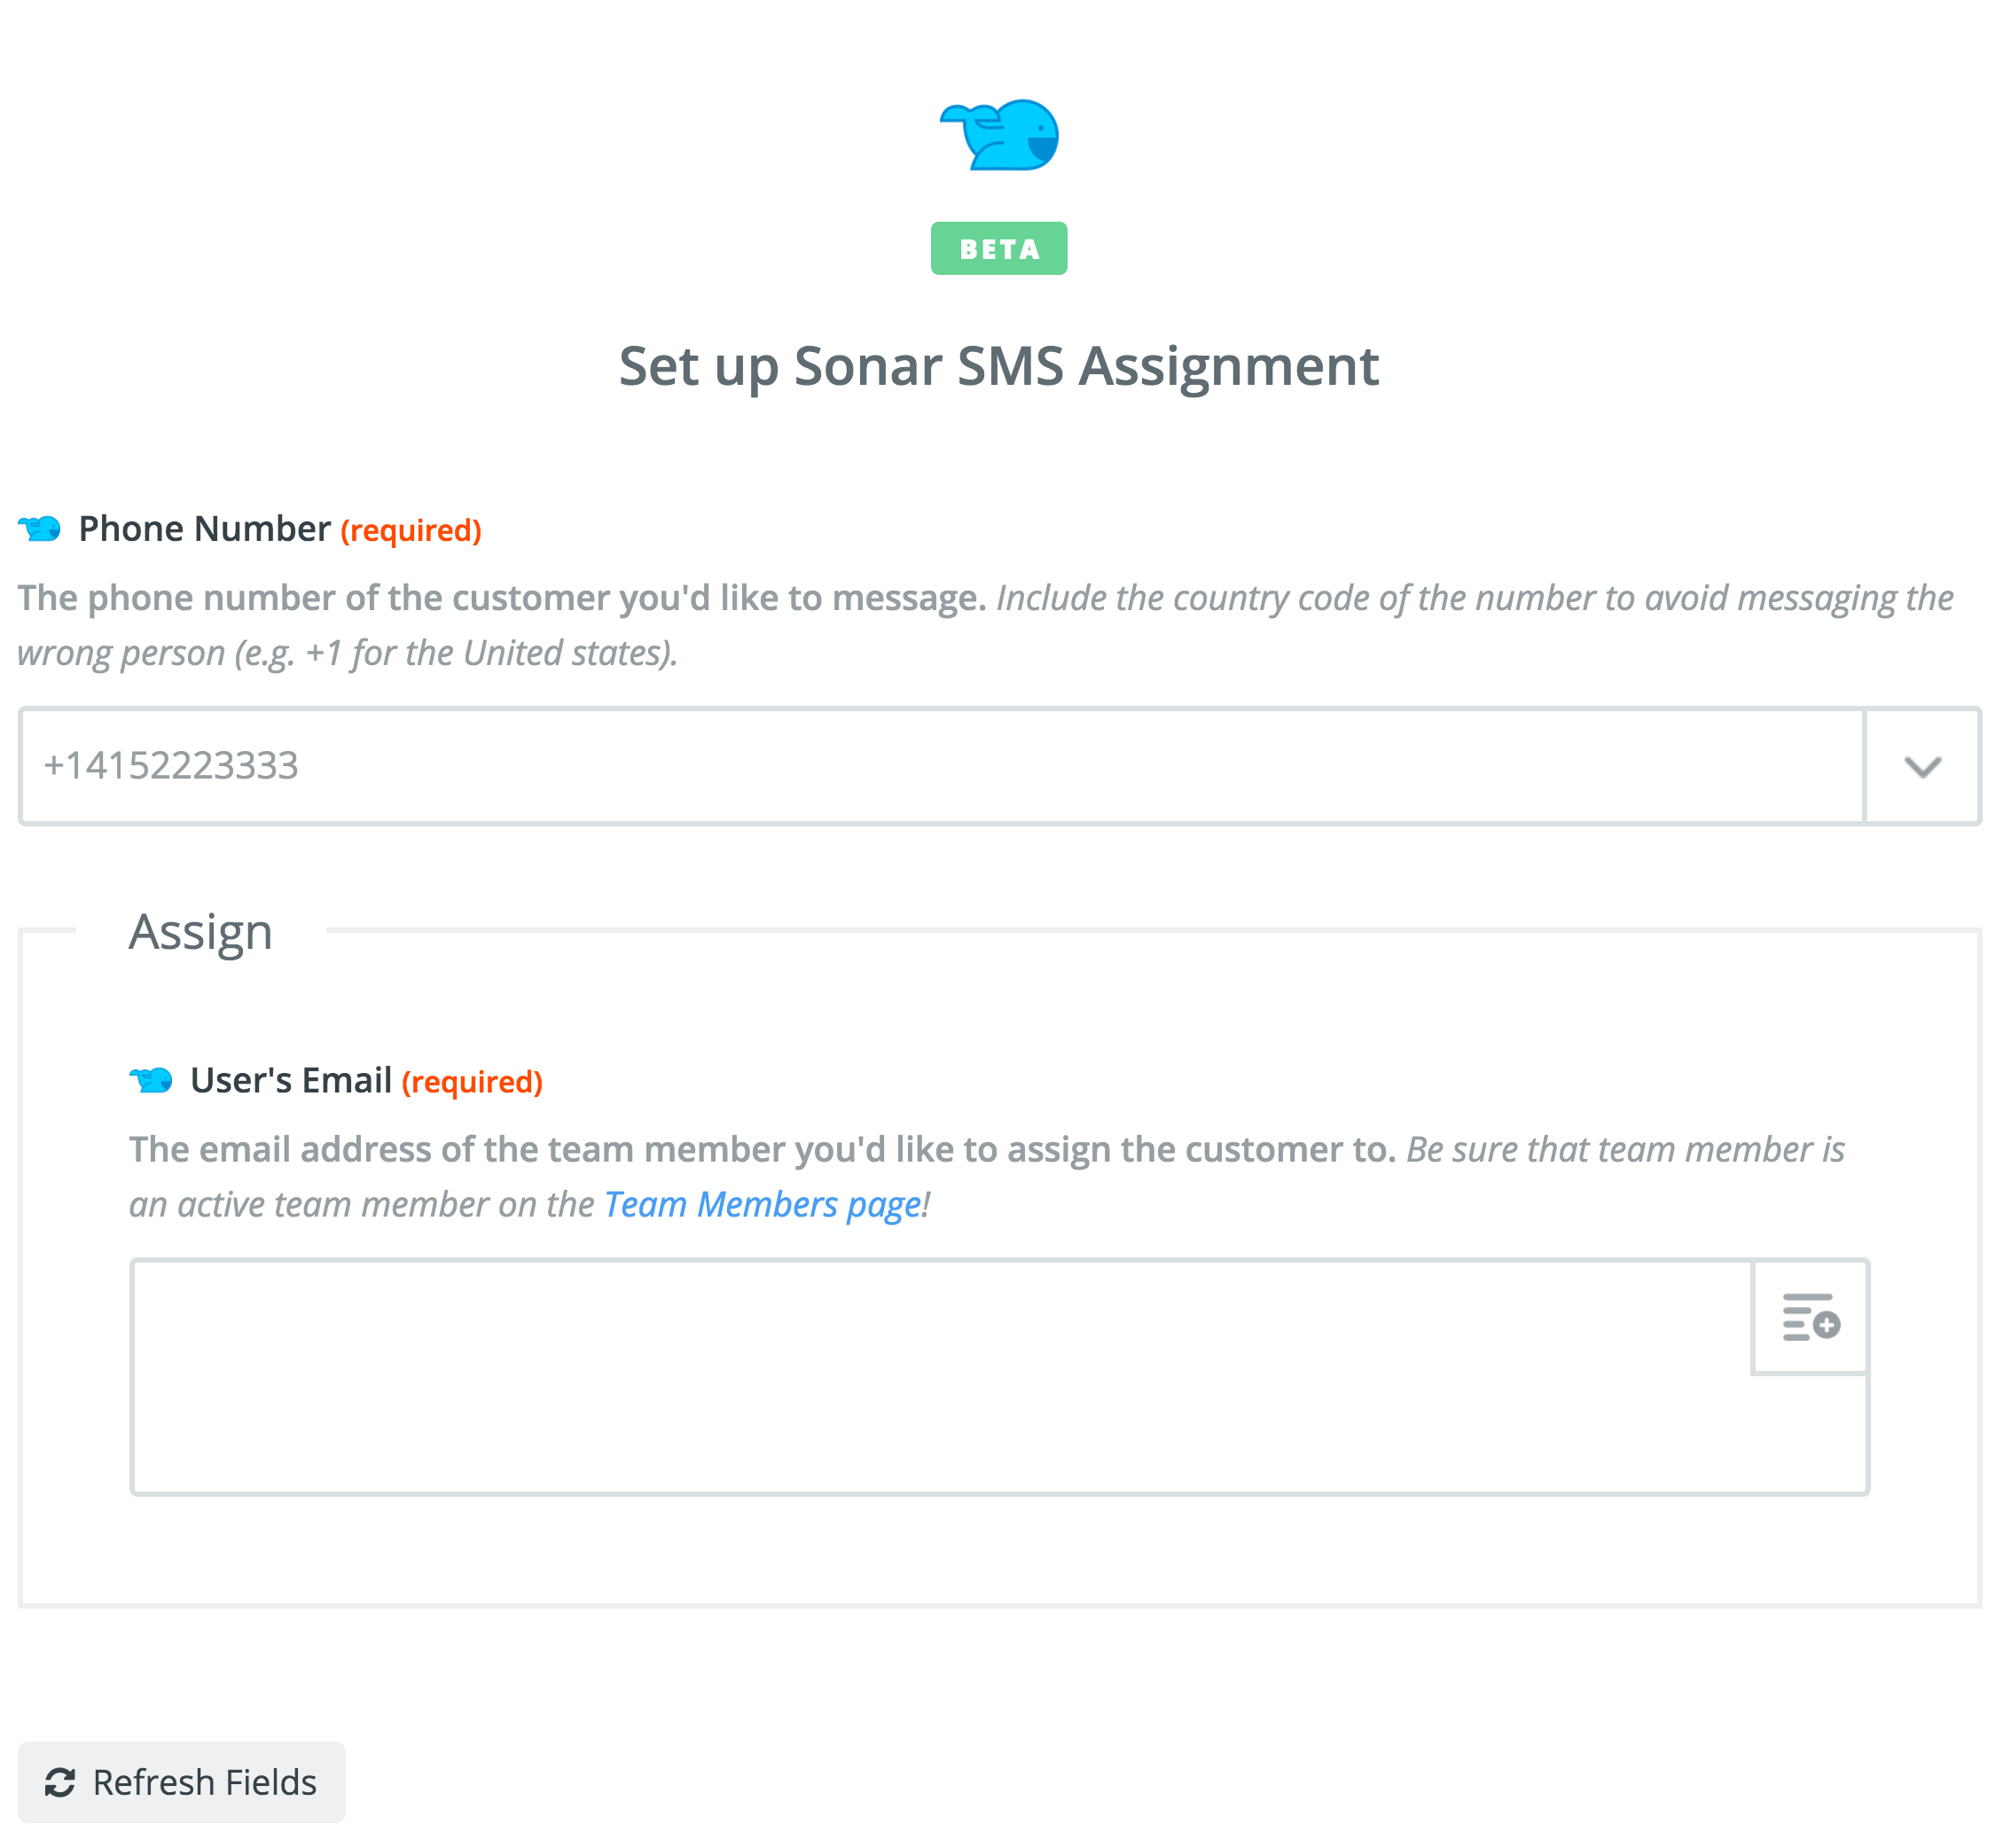
- If you chose the Action, "Assign Customer", you can select the below fields:
- Customer's phone number (required)
- Assign - User's Email (required) - email address in Sonar of the team member you're assigning the customer to.
- After you've set your template, click "Continue".
- Click on "Create + Continue" to test the Sonar SMS app.
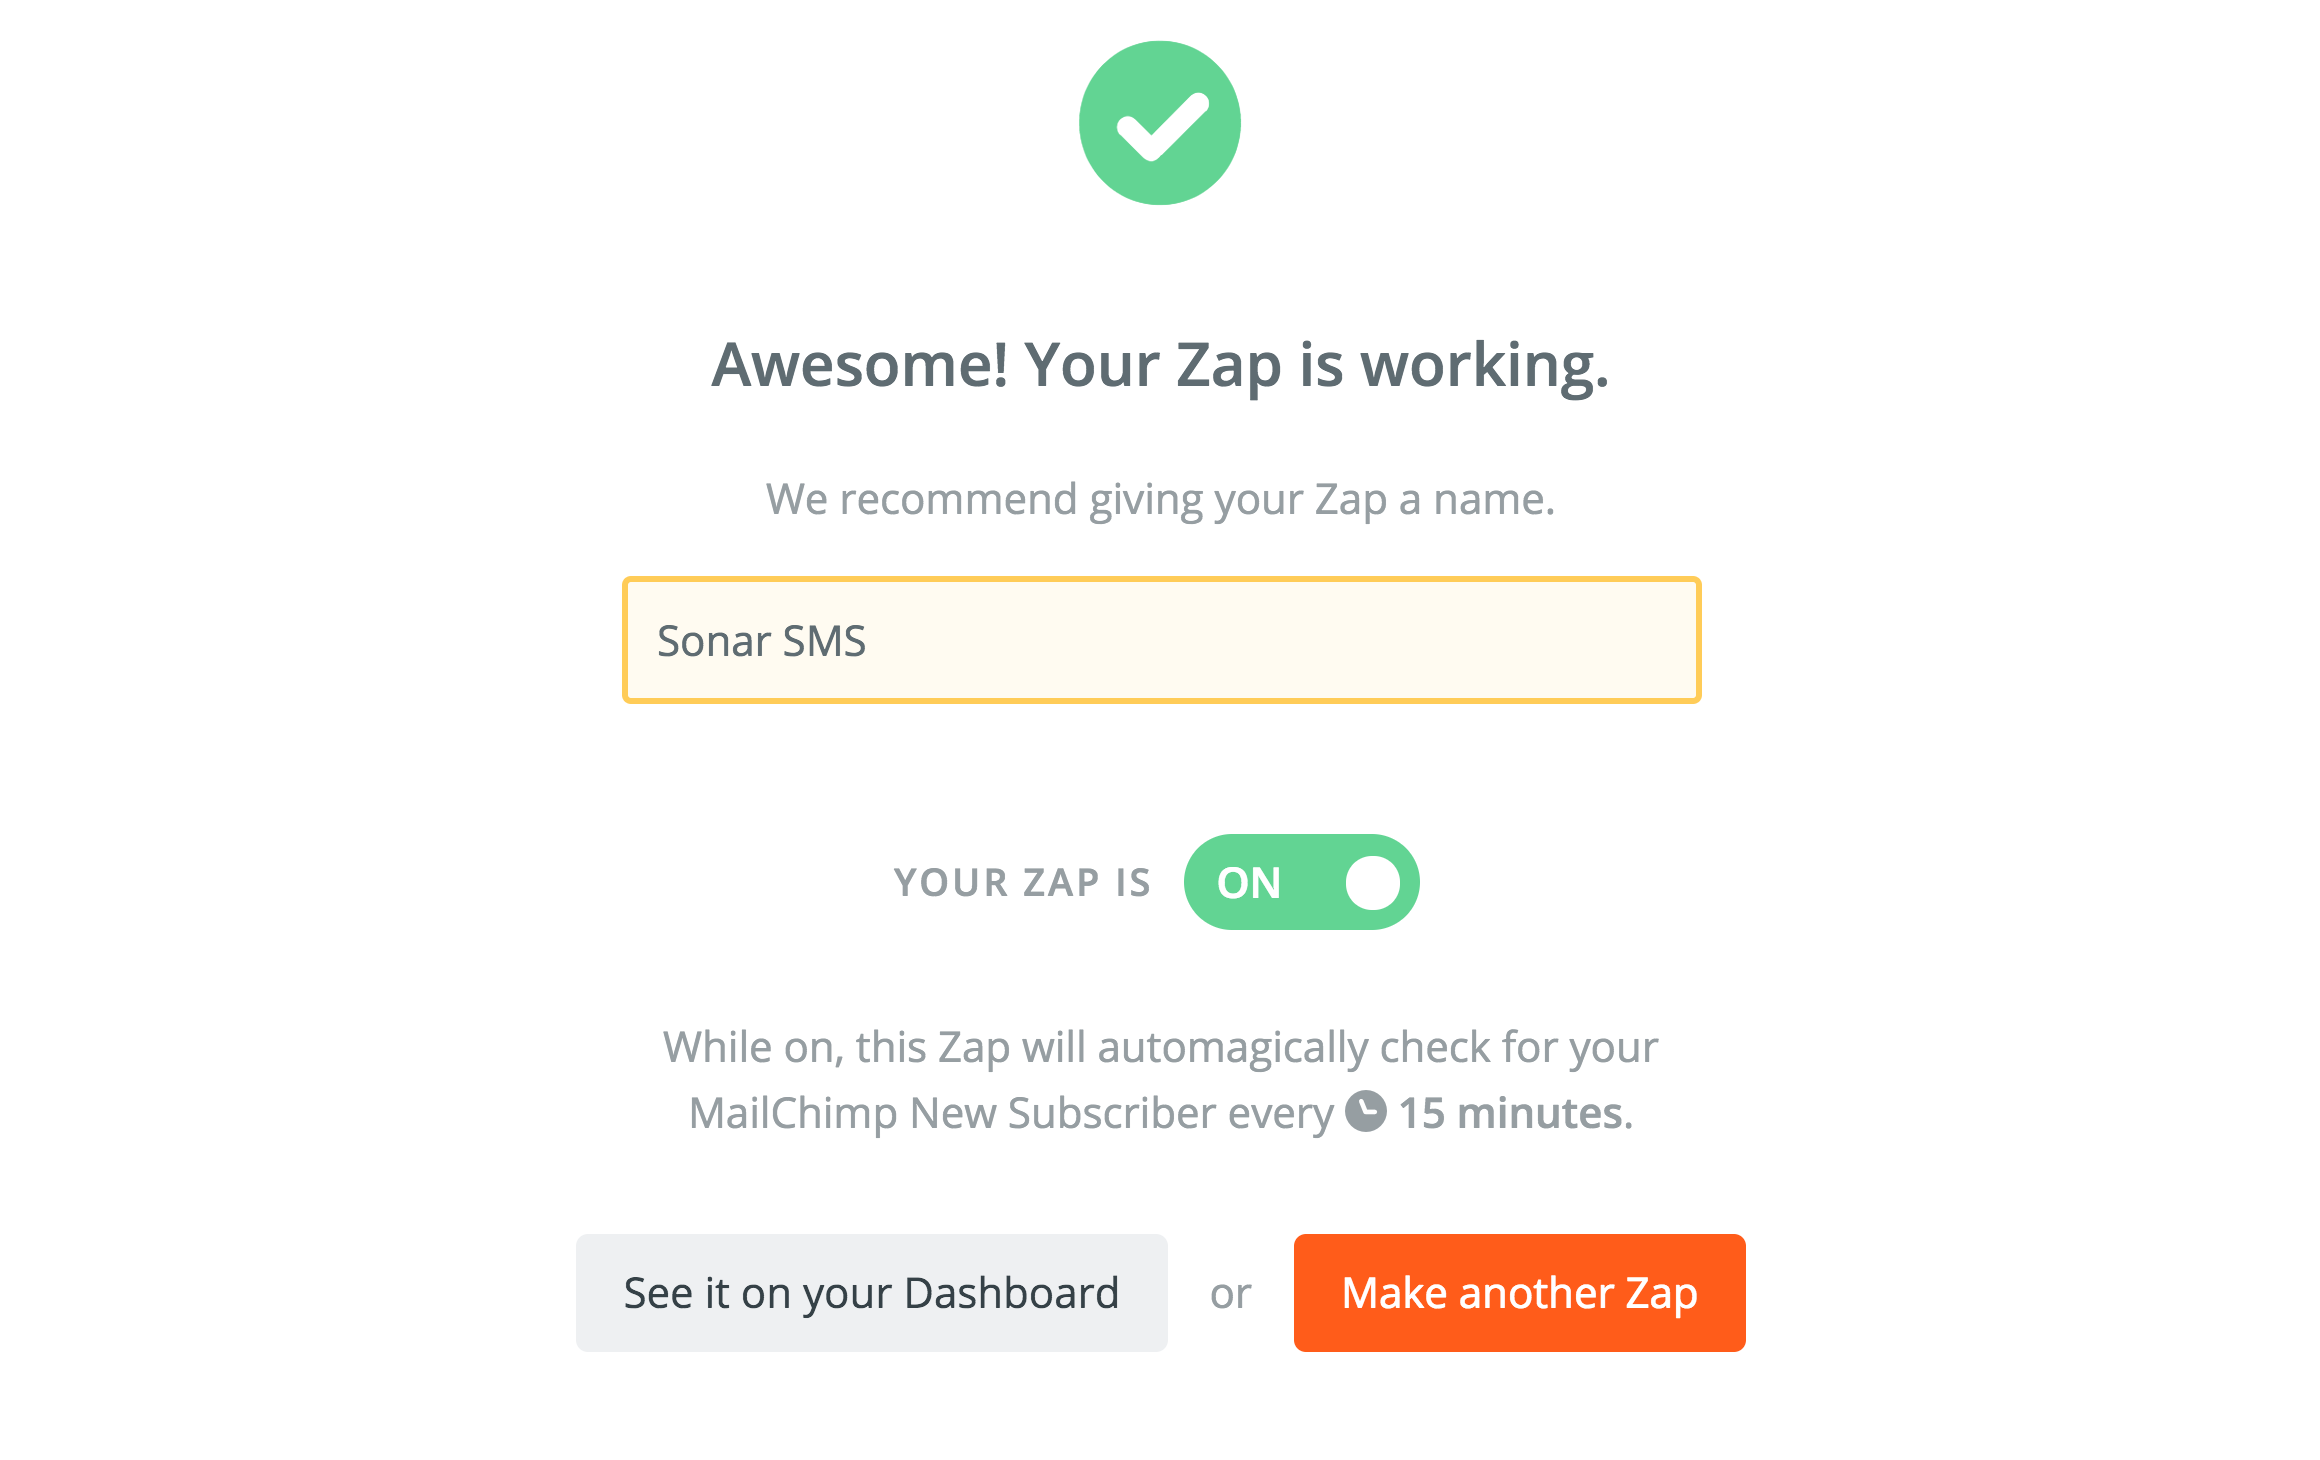
- Click on "Continue" and name your Zap. When ready, turn the Zap on! You can turn it off at any time.
Updated less than a minute ago