OKTA SSO Setup
Setting up OKTA for SSO with Sonar
These steps will allow you to use Okta for SSO with Sonar:
- In Okta, add the Sonar application from the Okta Integration Network:

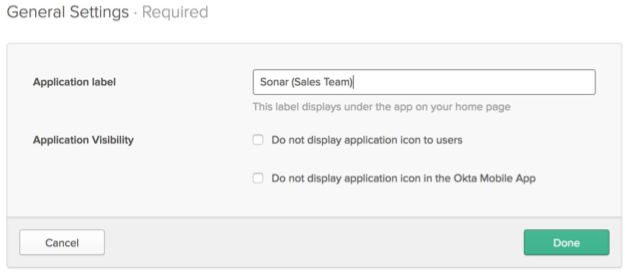
- Set a label that is specific to the Sonar org (currently you will need separate Okta Sonar applications if you have multiple orgs within Sonar):

- Go to the Sign On tab. In the Settings section, copy the link URL for the link that says “Identity Provider metadata” and paste it where you can get it later:

- Next, go to the General tab. Scroll down to a section called App Embed Link. Copy the Embed Link there and paste it somewhere:

-
Send an email to [email protected] indicating you’d like to activate SSO, and provide the metadata URL and embed link.
-
We will email you with a custom ID. To input it, go to the Sign On tab. Click Edit in the Settings section. Enter your custom ID in the Custom ID field and save:

- You should now be configured for SSO! You can assign users to the app from the Assignments tab so that they can log in. There are 3 ways to login using SSO:
Ways To Login
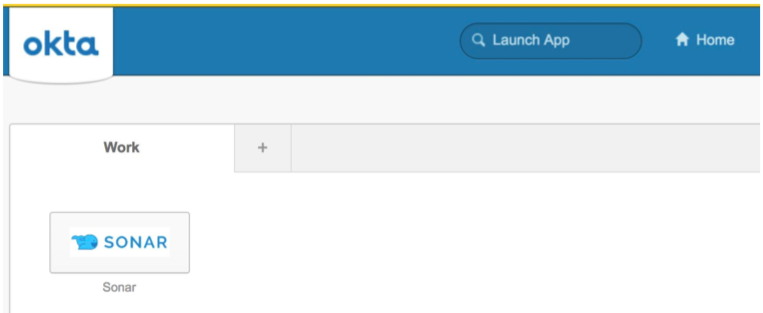
a) Go to your Okta home screen. You can click the Sonar link and you will be logged in:

b) Go to https://www.sendsonar.com/login/your-custom-id. You will be redirected to Okta to login.
c) Login in through the regular Sonar login page. This will also redirect you to the Okta login for authentication. (We can also continue to support the non-SSO Sonar login if desired).
Updated less than a minute ago